Halloween is just around the corner, and as we all know, it's one of the most exciting times of the year for our little ones. The costumes, the candy, and of course, the face painting! If you're looking to add some extra fun to your Halloween celebrations, why not try your hand at at-home Halloween face painting for your kids? It's a fantastic way to get creative, bond with your children, and make this holiday extra special.
Why We Love At-Home Halloween Face Painting
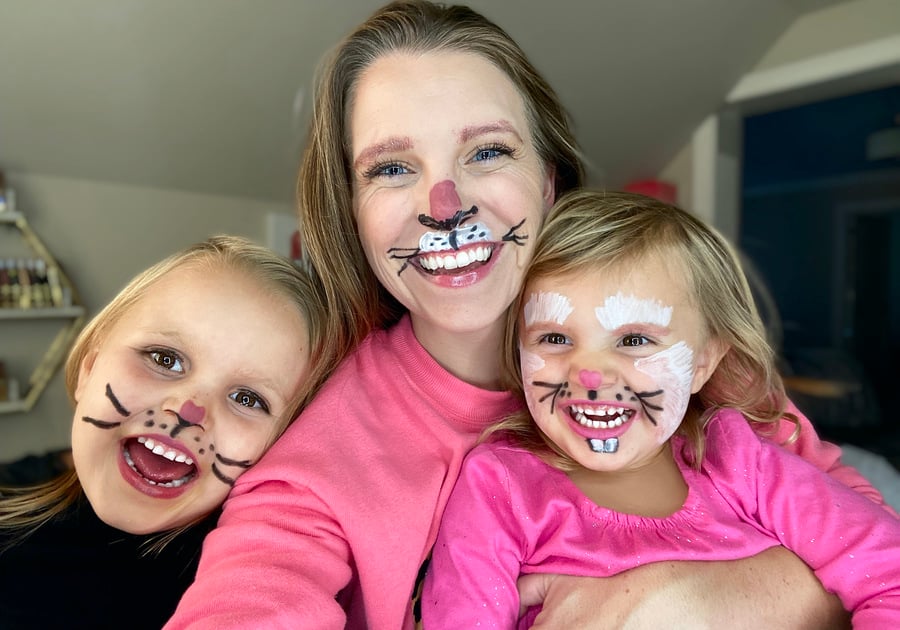
Face painting has been a Halloween tradition in our household for many years. There's something magical about watching your child's face light up when they see their reflection as a spooky ghost, a cute cat, or a mystical unicorn. It's a moment of pure joy that's worth every bit of effort put into the painting process.
 |
 |
What You Need:
First things first, let's talk supplies. You don't need a fancy face painting kit; you can make do with items you likely already have at home. Here's a basic list:
- Water-based Face Paints: These are easy to apply, safe for kids, and wash off easily. You can find them at most craft stores or order them online.
- Paintbrushes: You'll want a few different sizes for different details. You might already have some paintbrushes in your art supplies.
- Sponges: These are great for applying a base coat, especially for larger areas.
- Water: To rinse brushes and thin out the paint if needed.
- Paper Towels: To wipe brushes and sponges between colors.
- Mirror: A small, hand-held mirror can help your child see their transformation in real-time.
- Design Ideas: Pinterest is your best friend for finding inspiration. Your child might have a specific character or theme in mind, so have some images ready for reference.
Check out our Face Painting Pins
The Spooky Step-by-Step:
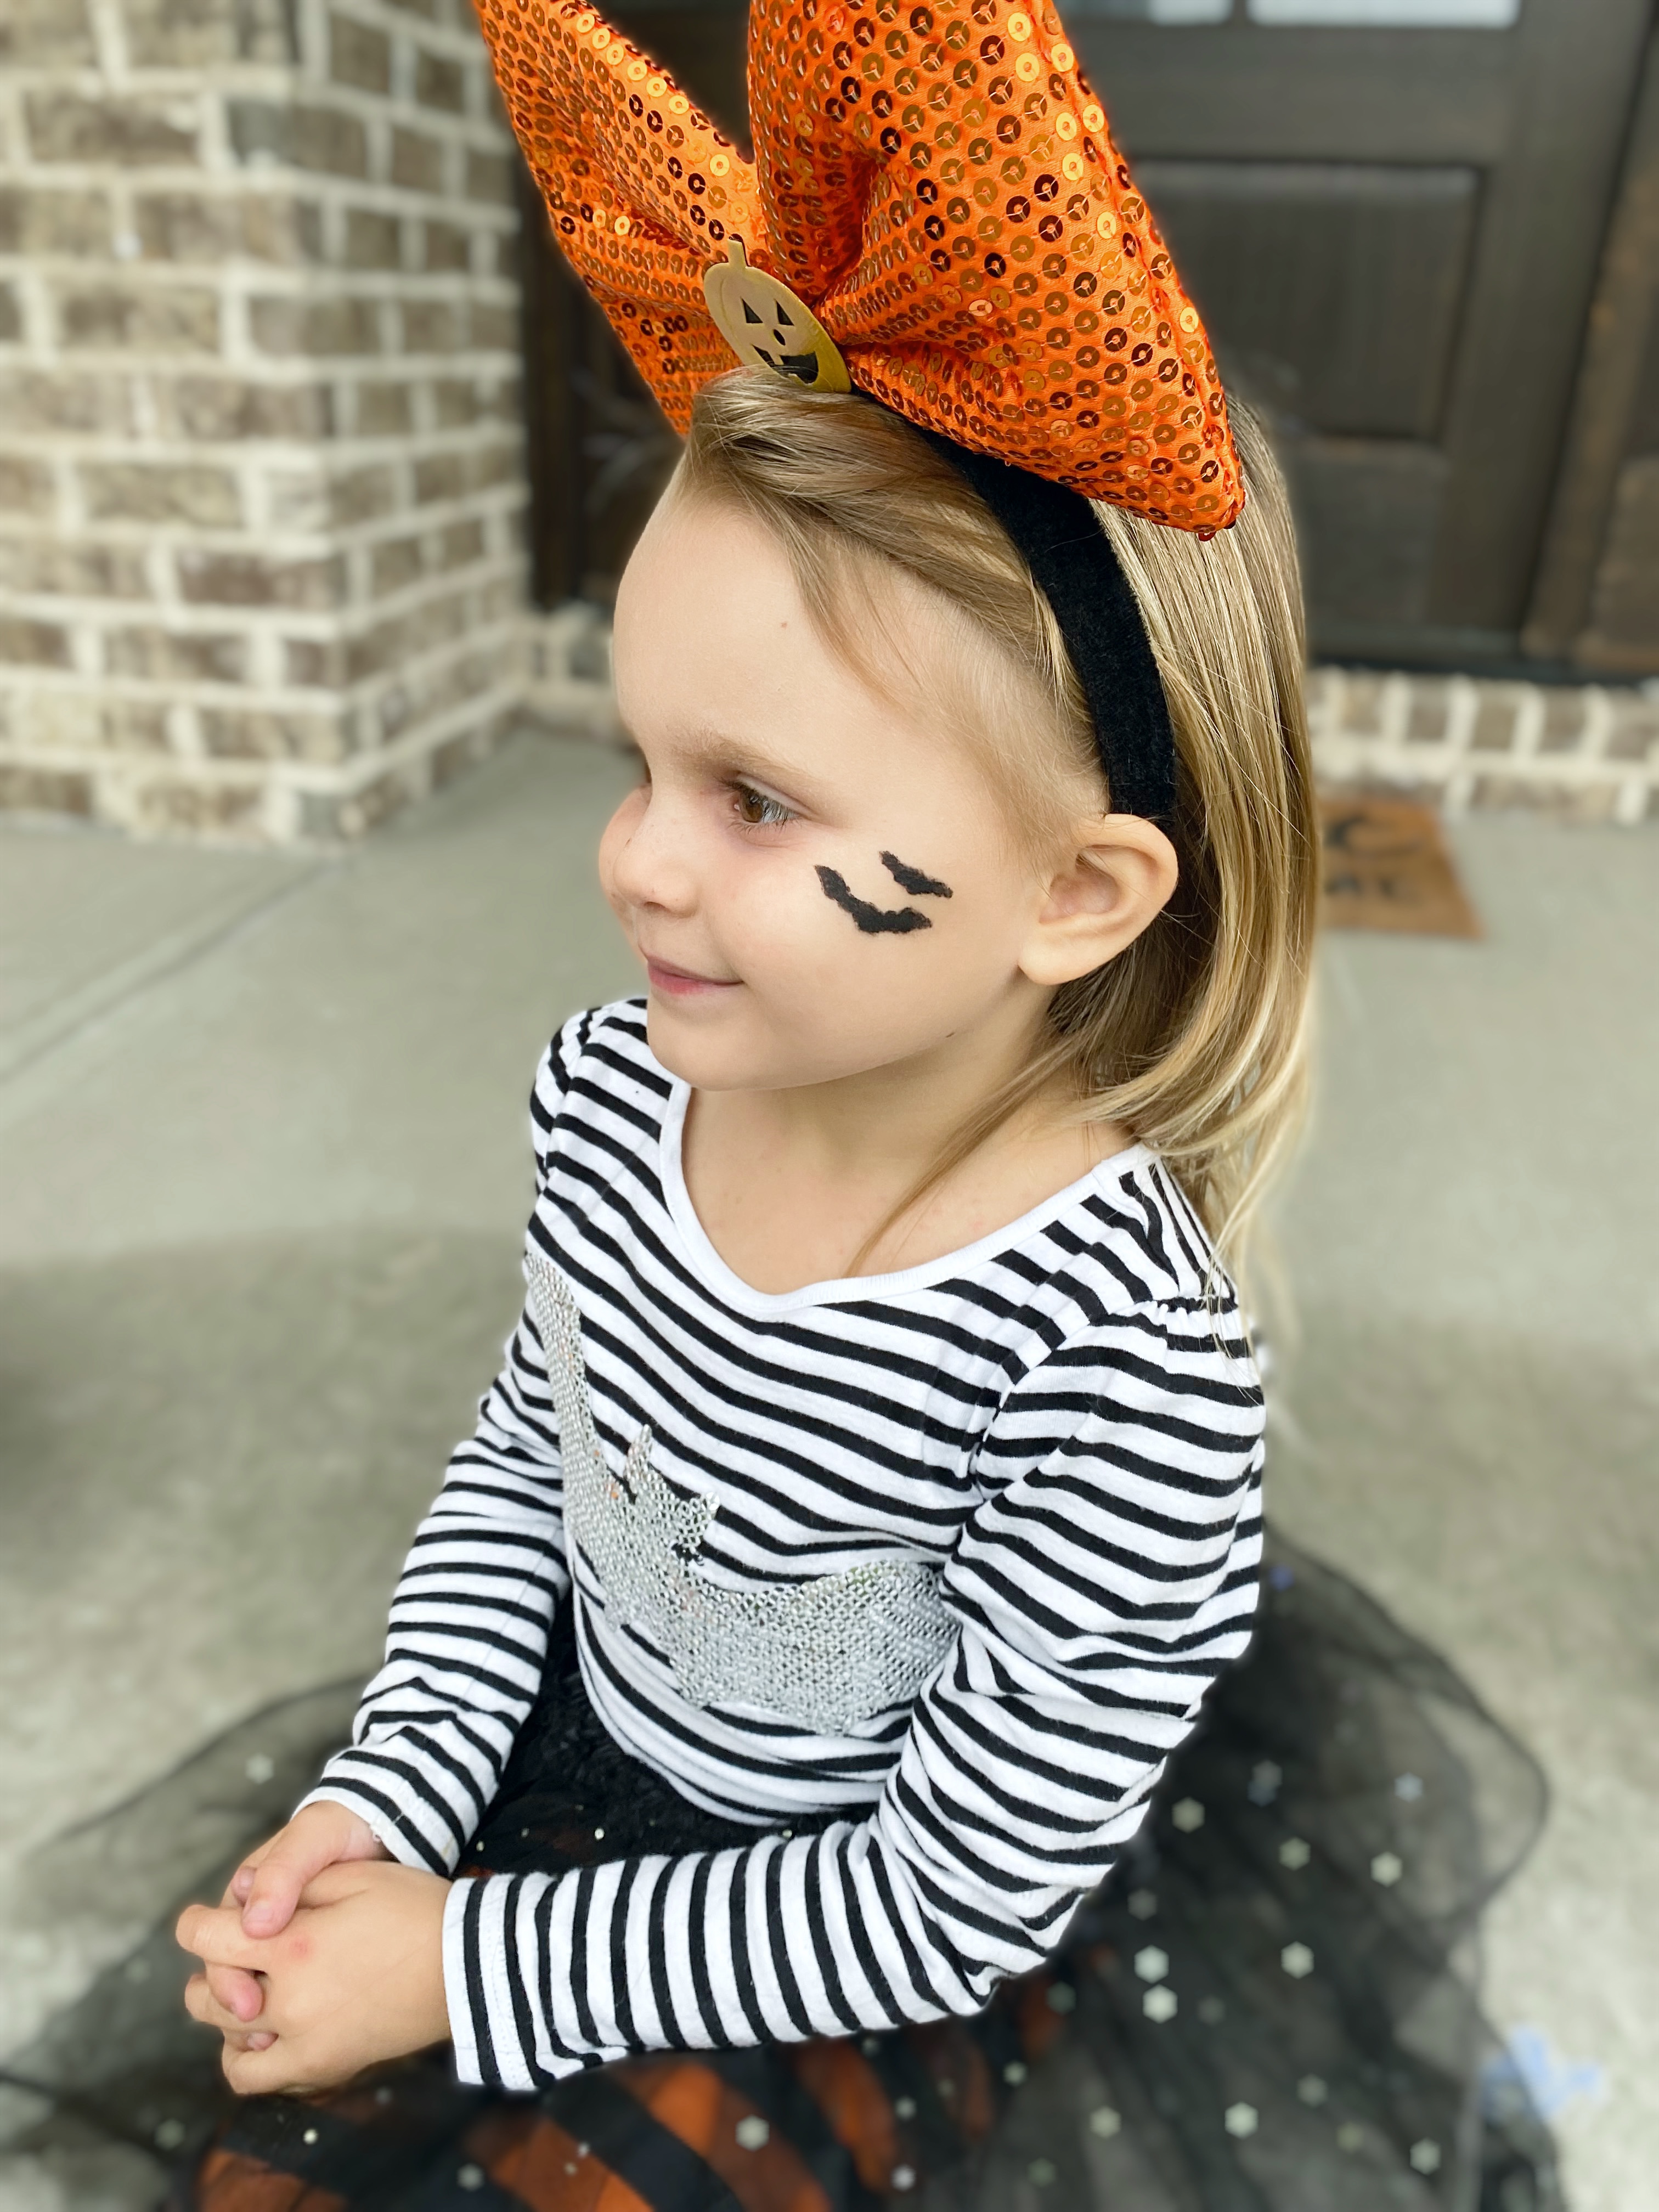
- Plan Your Design: Start by deciding on a design with your child. Are they going for a spooky skeleton, a wicked witch, or a friendly pumpkin? It's a great opportunity to let their creativity shine.
- Clean and Dry the Face: Begin with a clean and dry canvas. Wash your child's face and make sure it's completely dry before starting. This helps the paint adhere better.
- Apply the Base: Use a sponge or a larger brush to apply the base coat. For a ghost, it might be white; for a pumpkin, orange. Let it dry before adding details.
- Add Details: Now comes the fun part. Use your smaller brushes for details like eyes, noses, and mouths. If you're painting a specific character, have a reference image handy.
- Let Them Shine: Allow your child to watch their transformation in the mirror. Their excitement and joy will be the best reward for your effort.
- Seal the Deal: If you want the design to last a bit longer, you can use a setting spray or a light dusting of talcum powder to keep the paint in place.
Some Helpful Tips from One Mom to Another:
- Start Simple: Especially if this is your first time face painting. Simple designs can still look amazing, and they're less stressful for you and your child.
 |
- Stay Patient: Face painting can take some time, so be patient and let your child take breaks if needed. It's all about having fun!
- Wash Off with Love: When it's time to remove the face paint, use a mild soap and warm water. Make it a gentle and soothing experience.
- Enjoy the Moment: Remember, it's not about perfection; it's about the memories you create together. Embrace the imperfections and have fun!
 |  |
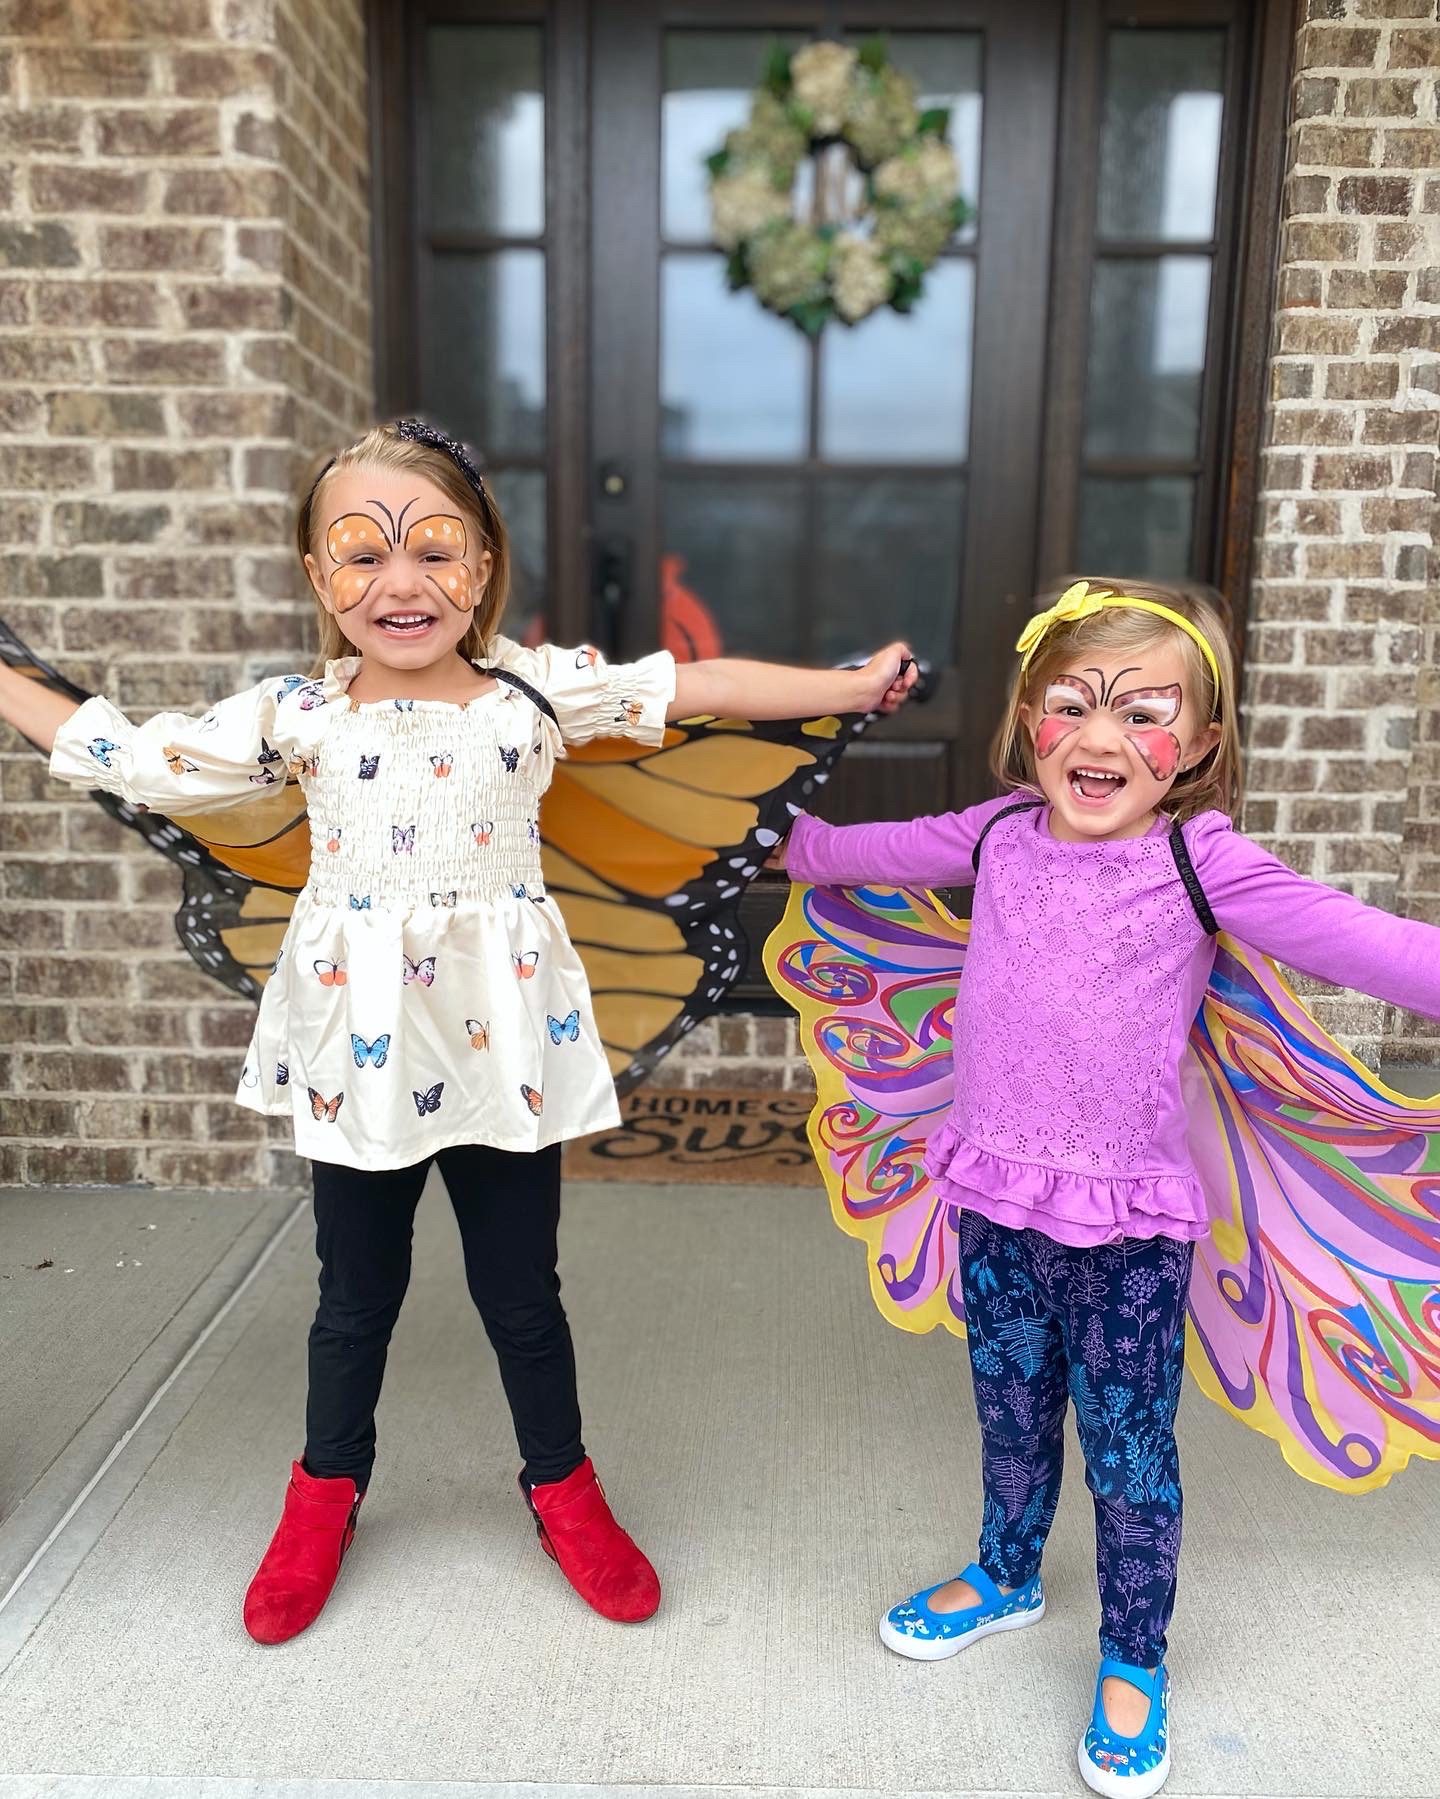 |
At-home Halloween face painting is a wonderful way to bond with your kids and create lasting memories. It's a chance for them to explore their creativity and for you to share in their excitement. So, roll up your sleeves, gather your supplies, and get ready to make this Halloween extra special with a dash of face painting magic. Have a spooktacular time, fellow moms!